
Second part of my series about Synology NAS.
A couple of days ago I wrote a post about an initial configuration of Synology devices. Our device has configured Network and volume, where we can store our data.
But first, we need to configure share folders and groups, after that we will create some users, which will have access to those shares.
We will create three different users and two groups. Each group will have one share folder and they will not have access to the shared folder of another group.
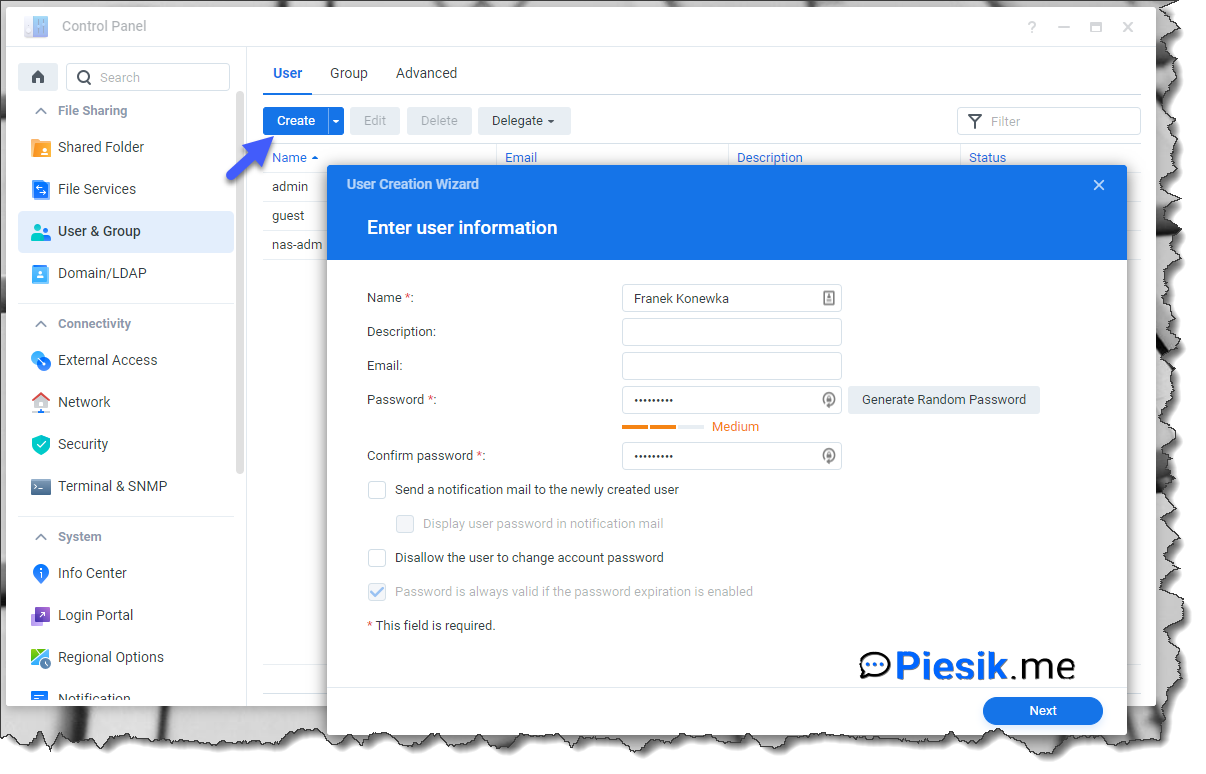
So, first, we will create a user. To do this, we need to login to our device, open Control Panel > User & Group. Here we can list all of our users, edit existing users, or create a new one. We will start by creating a new one.
I will create a three users:
- Franek Konewka
- Andrzej Zielonek
- Ada Majewska
On the next screen, you can directly add those users to the group, but for now, I will skip this step.
The third step is the step when you can assign permissions to folders. As we don’t have created shared folders yet, this list will be empty.
The fourth step is assigning quota, the next step is about permissions for the applications. If you don’t want that user can use FTP – just block it. And if you block access to DSM – this user will be not able to login to the Synology portal. When you configure it, you can go to the next step – speed limits for our applications.
The last step is the confirmation screen. If everything is set up correctly – click Done and repeat those steps for another two users.
So, users exist, let’s move to the next step, create three groups, and assign users to those groups.
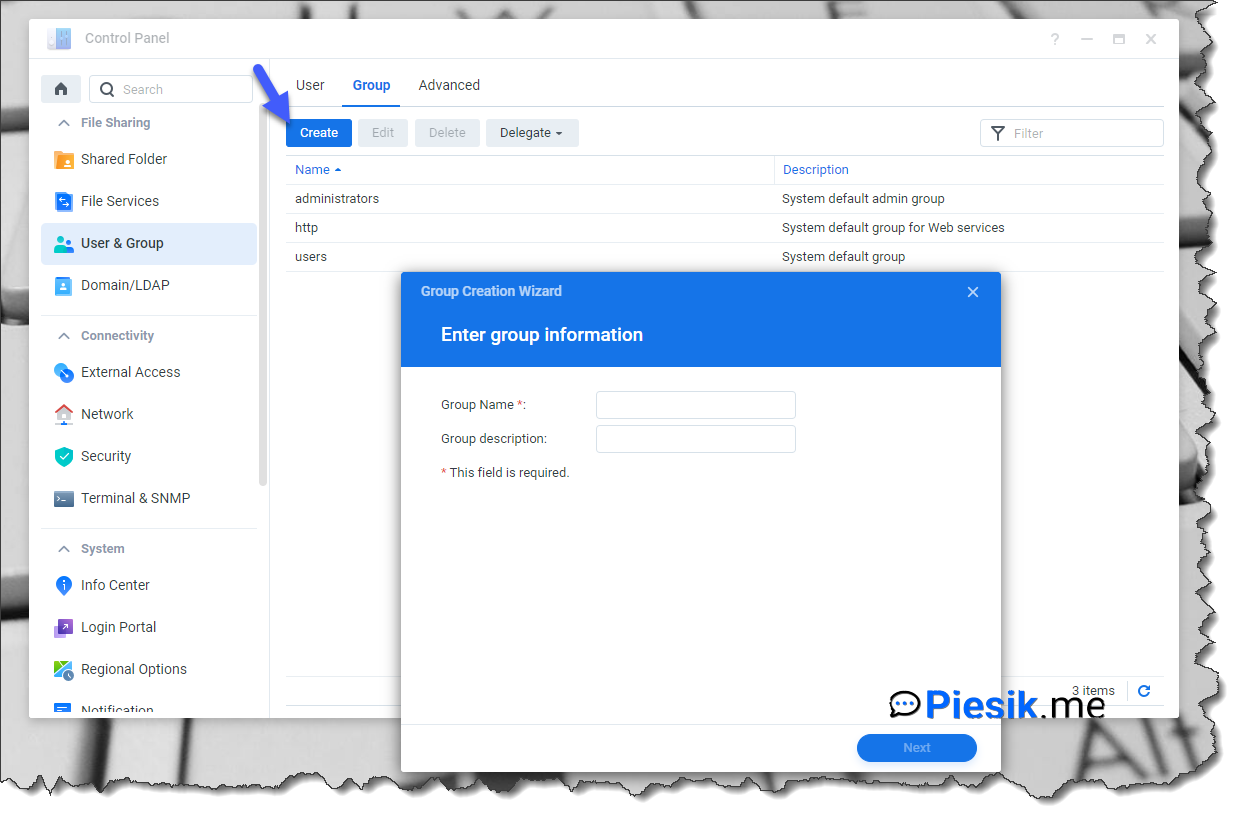
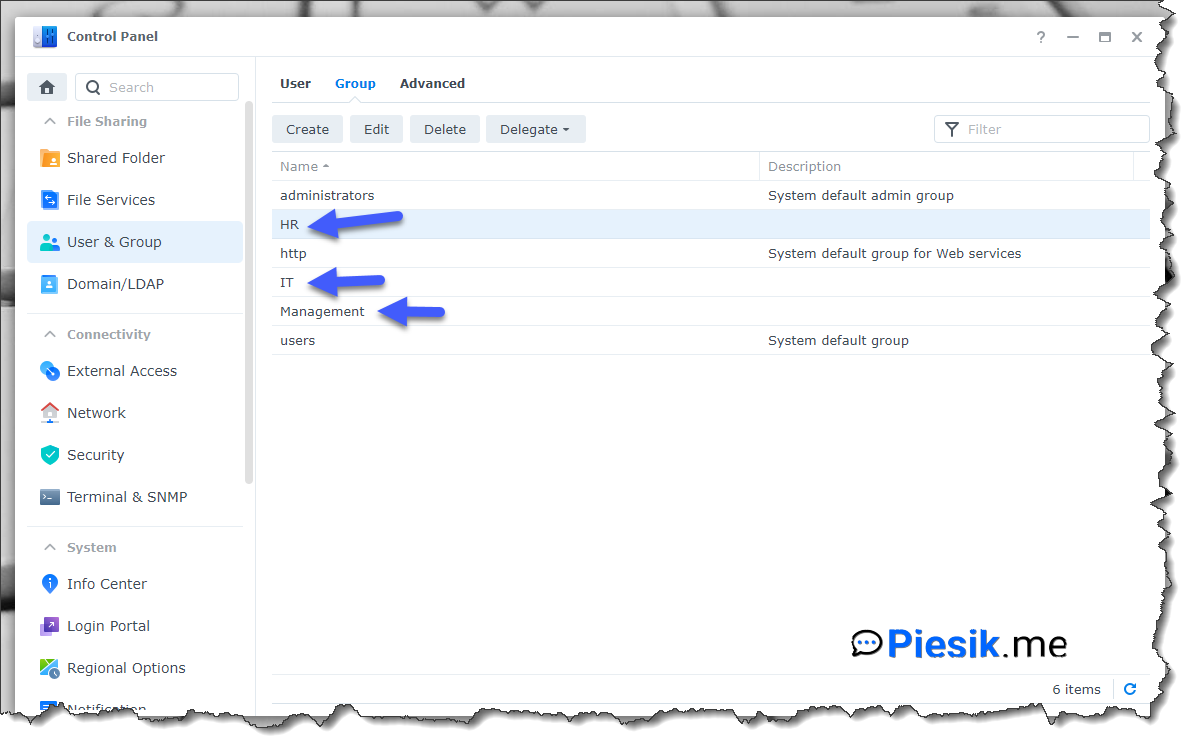
On the first screen, you need to provide a name for the group and optionally – description for a group. I will create three groups:
- HR and assign to this group user: Franek Konewka
- IT and assign to this group user: Ada Majewska
- Management and assign to this group user: Andrzej Zielonek
The next step is assigning users to groups, permissions to shares (but like in the last step – any of shares are not created), quota, permissions to application, and application speed.
Let’s repeat for each of the groups.
Finally, it will look like on below screen:
If those groups are created, we can start by creating three folders:
- For HR
- For IT
- For Management
And assign permissions. Logically, HR will have access only to HR, IT to IT, but Management will have access to each folder.
To create a Shared folder we to open Control Panel > Shared Folder and click to Create to run the wizard where you can create a new shared folder.
In the first step, we need to provide a name, optionally description. You don’t need to enable Recycle Bin, but trust me – that is a better way to enable it only for administrators instead of hearing voices from people: I MOVED MY FILES TO TRASH AND NOW IT IS GONE :(. You can also encrypt this folder to have better security for your data, but it is optional. On the third step, you can enable data checksum for data integrity or enable folder quota.
The Last step will be assigning permissions to this folder:
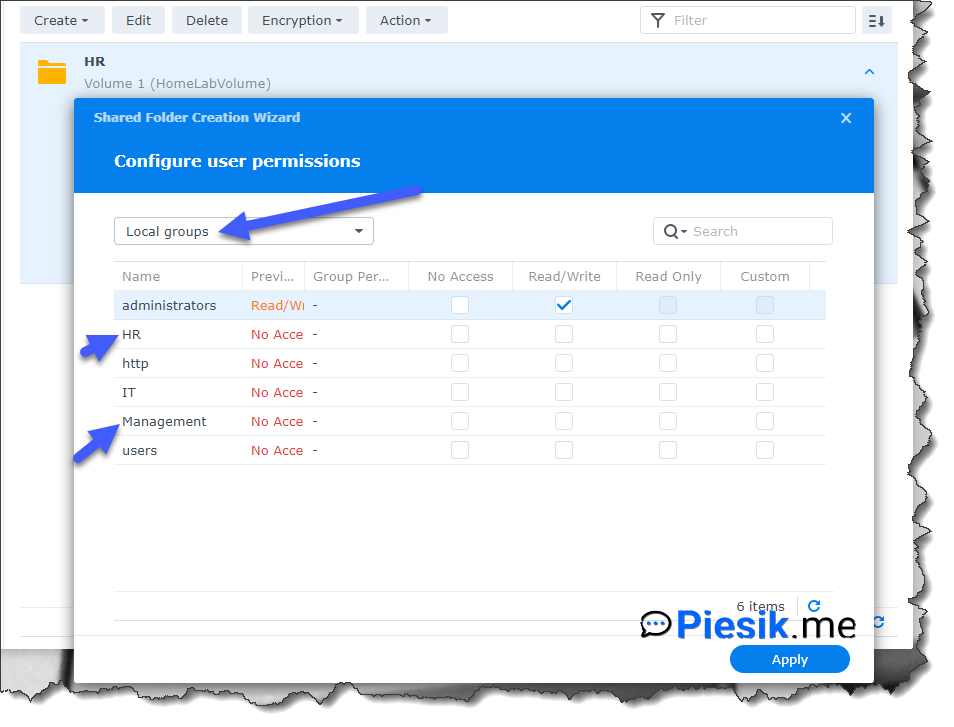
As you can see, from the top of the window I selected Local Groups instead of Local Users. For the HR folder, I will grant permissions to the HR and Management group.
Let’s repeat creating shared folders for the rest of the groups.
So, if you create any additional shared folder and user you can start using your device on your home!
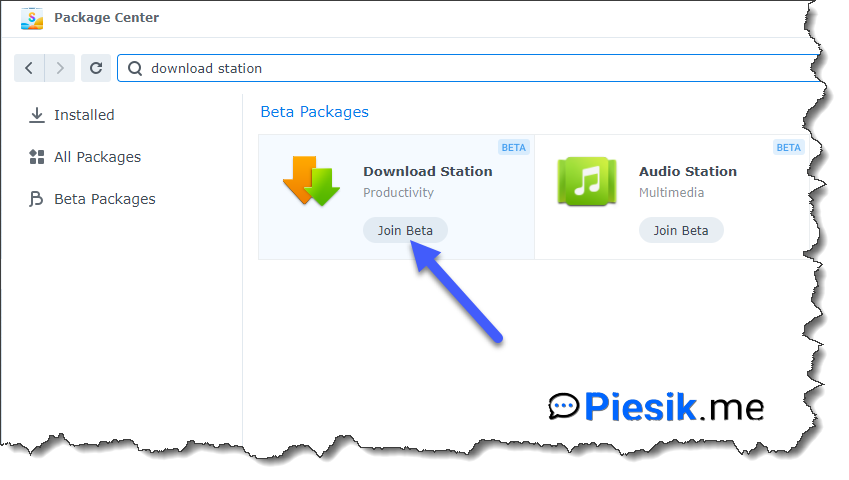
Let’s go to the last part of this post: Installing packages
If you want to install any of package, you need to open Package Center, find package what you want to install and tap the Install button. But on the Beta version, you need to click Join Beta. We will install Download Station first.
For this software, I will create an additional shared folder named Downloads and assign for my users Read / Write permissions.
When the package will be installed, run it from the menu and select a destination folder where downloaded data will be stored.

Nothing more. You don’t need to install any exe packages on your Synology. Everything you need to do is click the Install button and do the inital configuration.
I started downloading Ubuntu 20.10 to my home repository of ISO images to show you how easy it is. Everything I should do is insert the URL of this file.

The next part will be about sharing local content on our TV!
Thanks for reading!
