What if I want to show you how to use Synology NAS on your home lab?
A couple of months ago I received a new device which was used on my home. I also created a couple of blog posts, but all were written in the Polish language. Now I want to show you, how I configured DS620Slim to be used in my home lab and for entertainment.
That will be another series of posts on my blog.
In the first part, I want to show you how to configure a new device and prepare for the next part of the posts.
One important information for you: I’m using BETA software – version 7.0, which will be released to production soon, but please remember that can be some changes on the production version of firmware
When the device has mounted hard drives and it’s connected to LAN connection and power you can open your browser and type: http://find.synology.com/ to open a special webpage, which will find your NAS on your network. If you don’t want to do this, you can check DHCP leases on your router.
For me, it looks like on below screenshot:
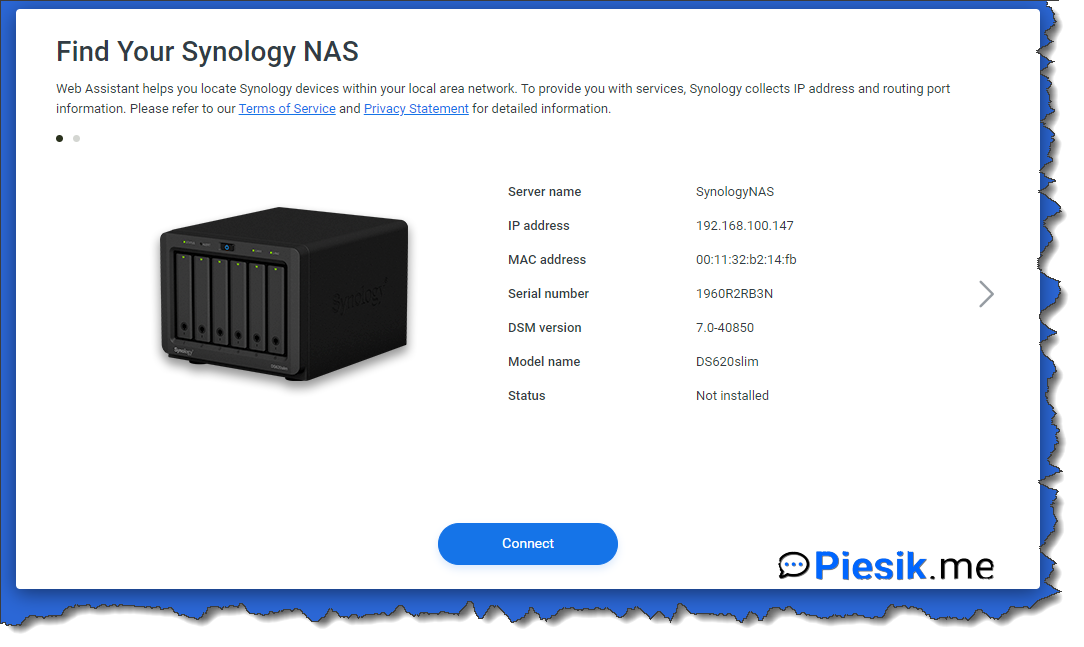
When you click Connect, there will be a wizard, which will help you to configure your NAS device.
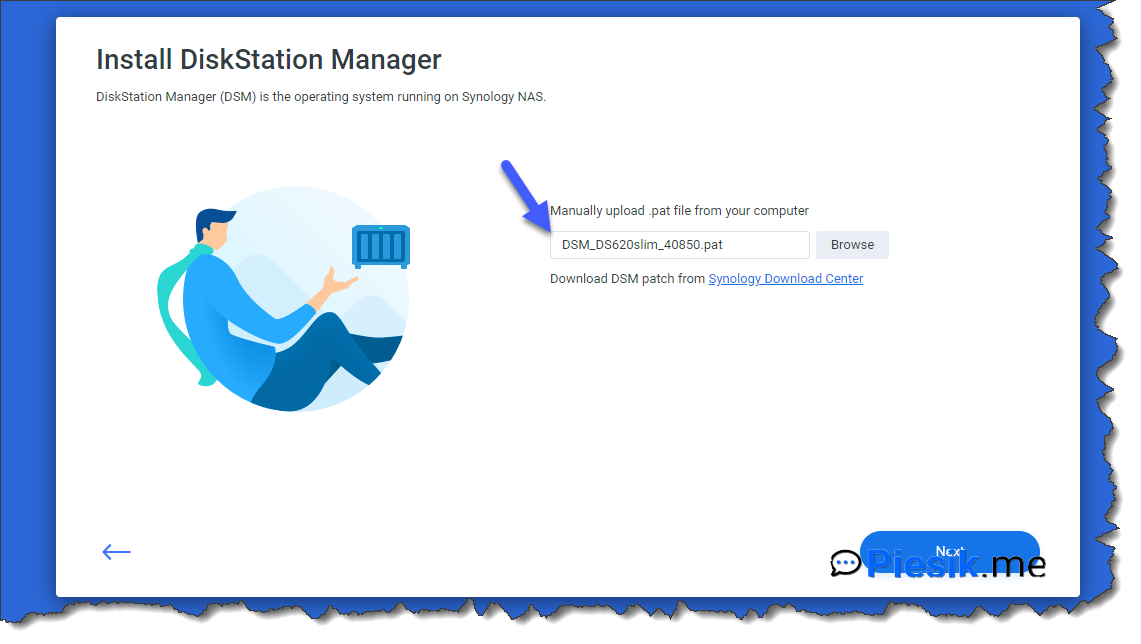
You should upload *.pat file which latest beta software which you can download from Synology website.
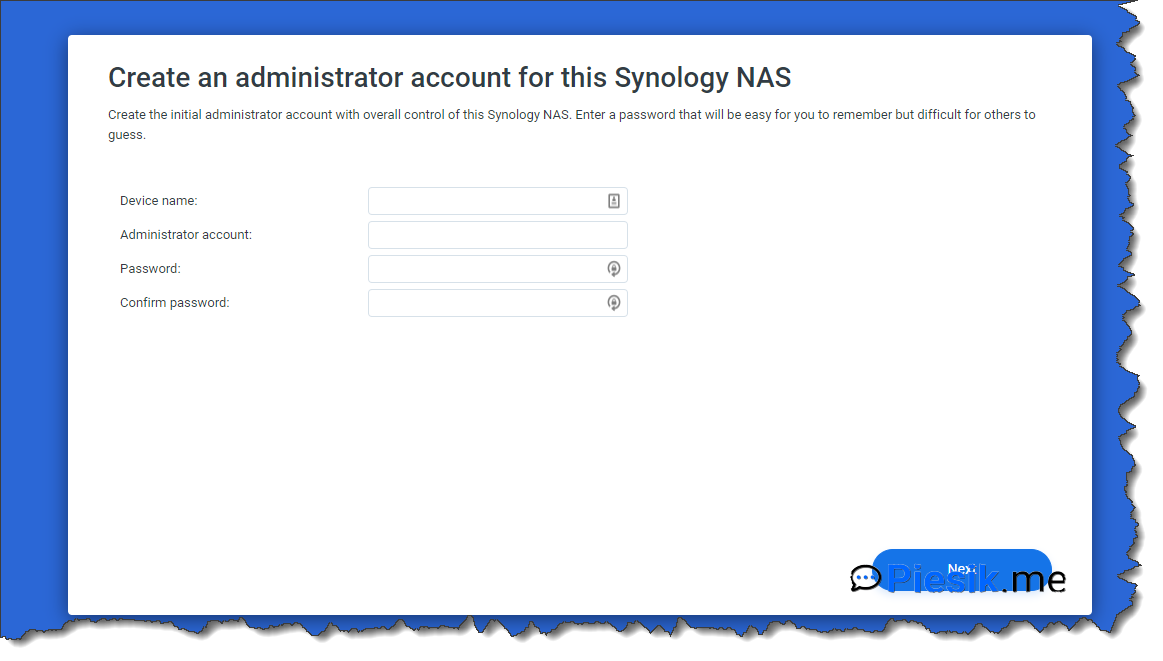
When the software will be installed, you’re prompted to create an account with administrative permissions and set the name for this device.
In the next step, you will be asked to join the Synology account. It’s preferred to have this account. If you join this program, you can receive alerts about your device.
The next step is configuring the Dynamic DNS service. You can use it or not – depends on you. If you will use it, you can work with your NAS device if you don’t have a static IP address. That means – you will be using the website: mycustomname.quickconnect.to
Another plus of using a Synology account it’s the possibility to enable monitoring and protection and regular backup of your DSM configuration. I will enable it.
From basic setup, it will be all.
So, there will do more things in the first part:
- Configure storage
- Configure IP Addresses
- Change default ports
- Update packages
So, let’s start.
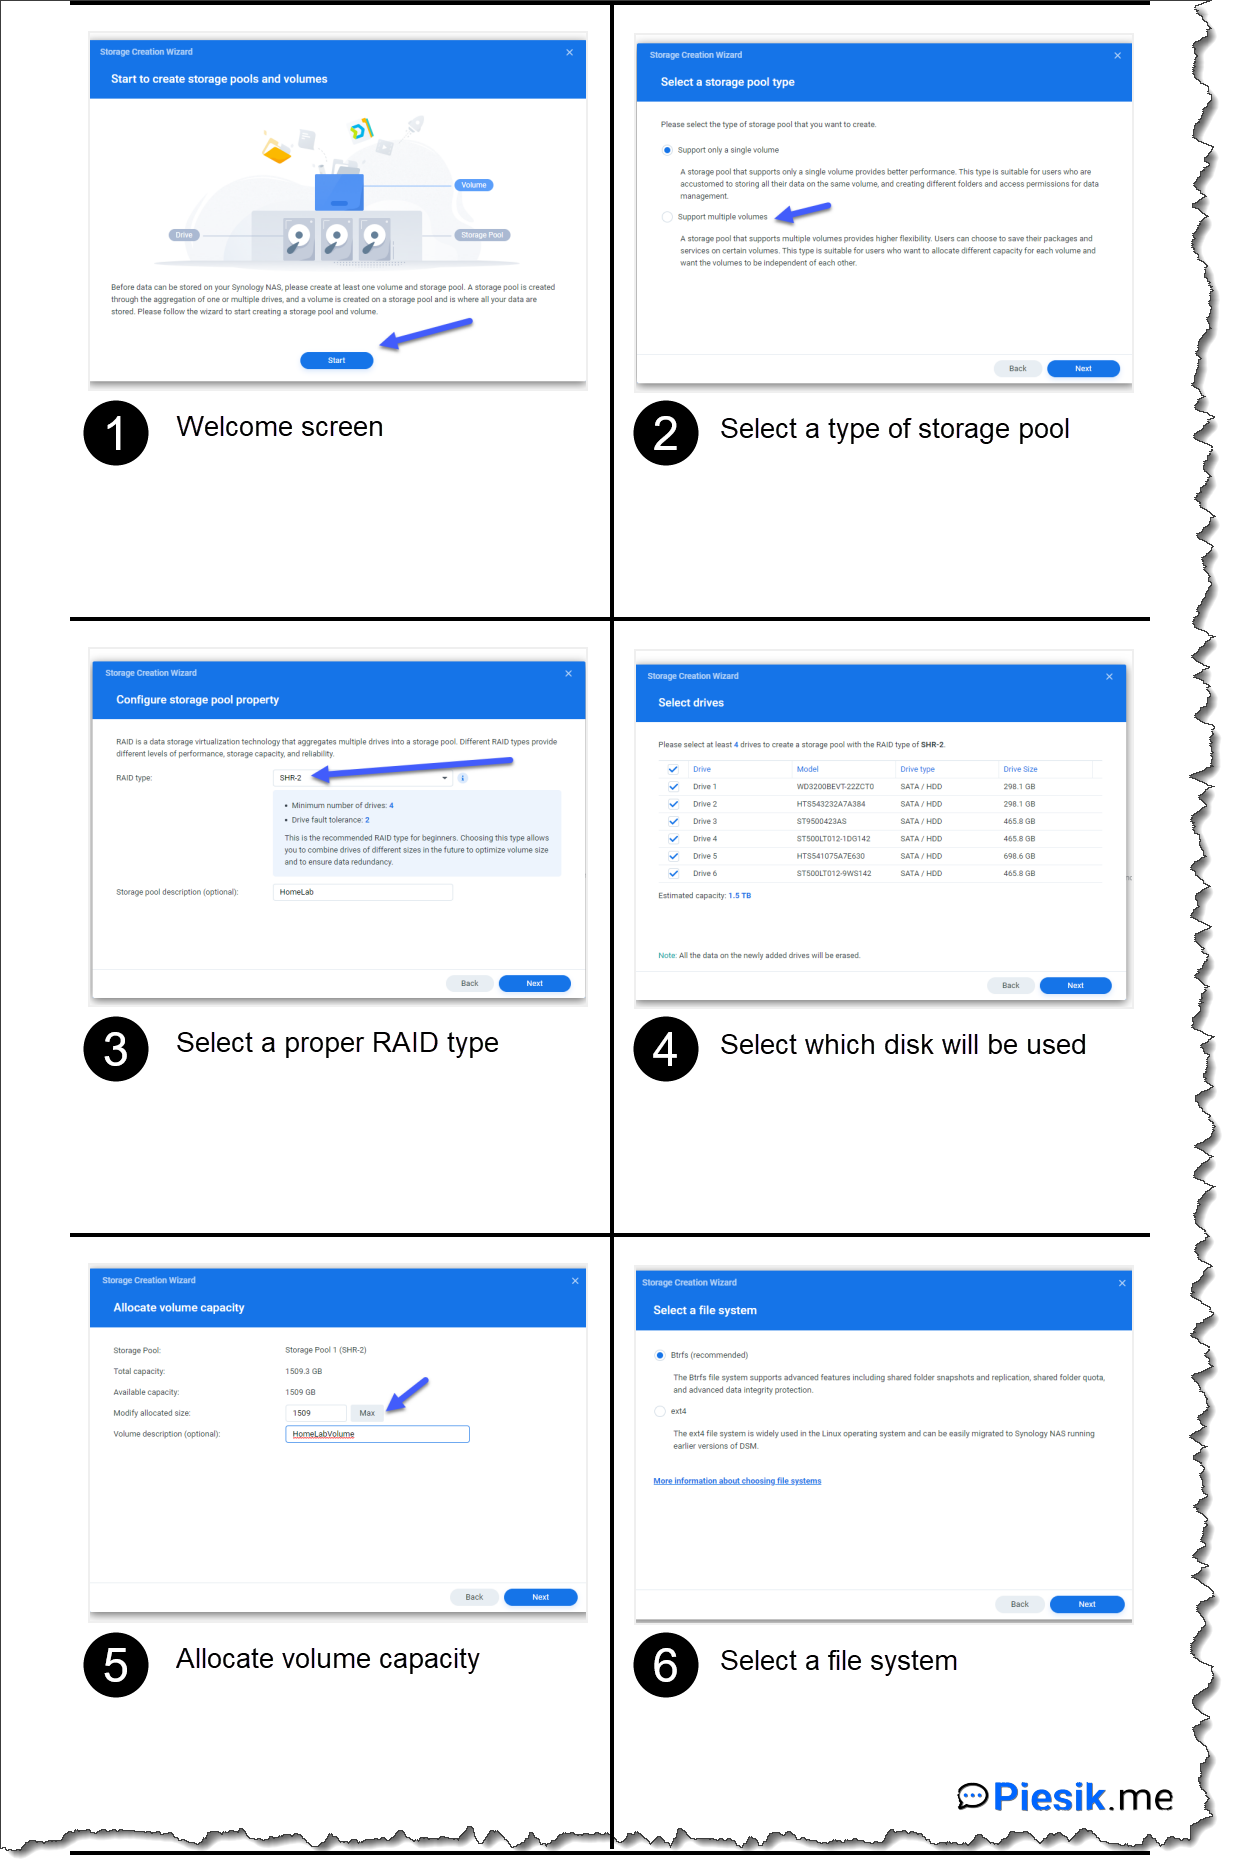
The first thing which I will describe is configuring storage. On my device, I have a 6 x 2,5’ HDD Disk.
To create a volume, you need to create an earlier storage pool. To make a storage pool you need to select at least one drive where this storage pool will exist. So, in my case, I can have 6 storage pools, but I will make only one, with SHR-2 RAID type. In the next step, I will select multiple volumes to select SHR-2 and use all of the disks on my NAS. Of course, for my purposes, max of size will be used and Btrfs as a file system. When you will be ready, confirm to create a storage.
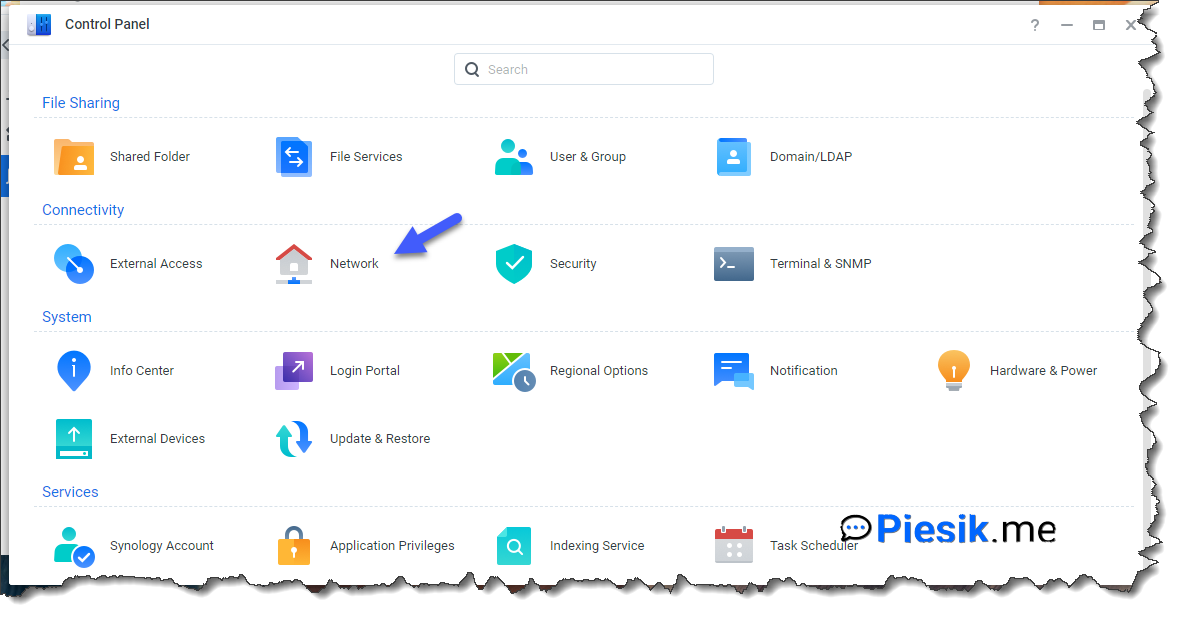
When the storage is configured, you need to configure a static IP address for each Ethernet interface that you have on the device. To do this, please open a Control Panel > Network Interface > select interface and click on the “Edit” button on top and insert a proper interface address.

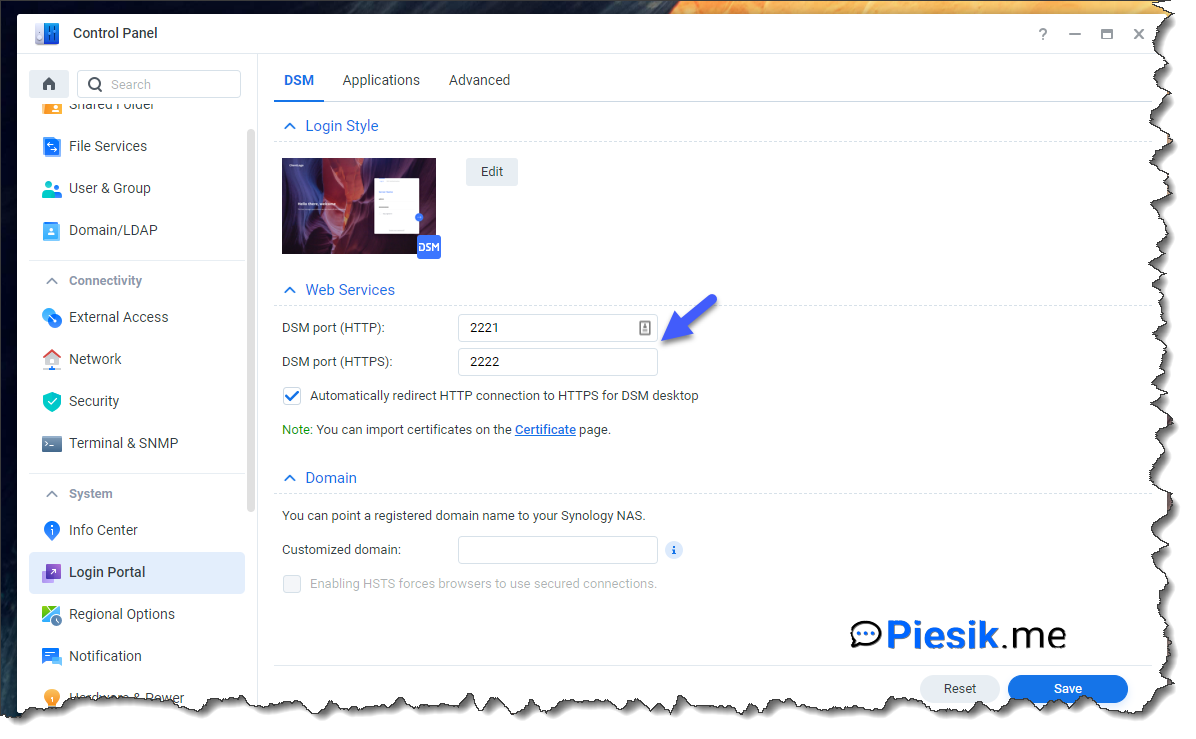
To Change defaults ports, we need to open a Control panel again, go to Login Portal and change default ports to ports what we want to use:
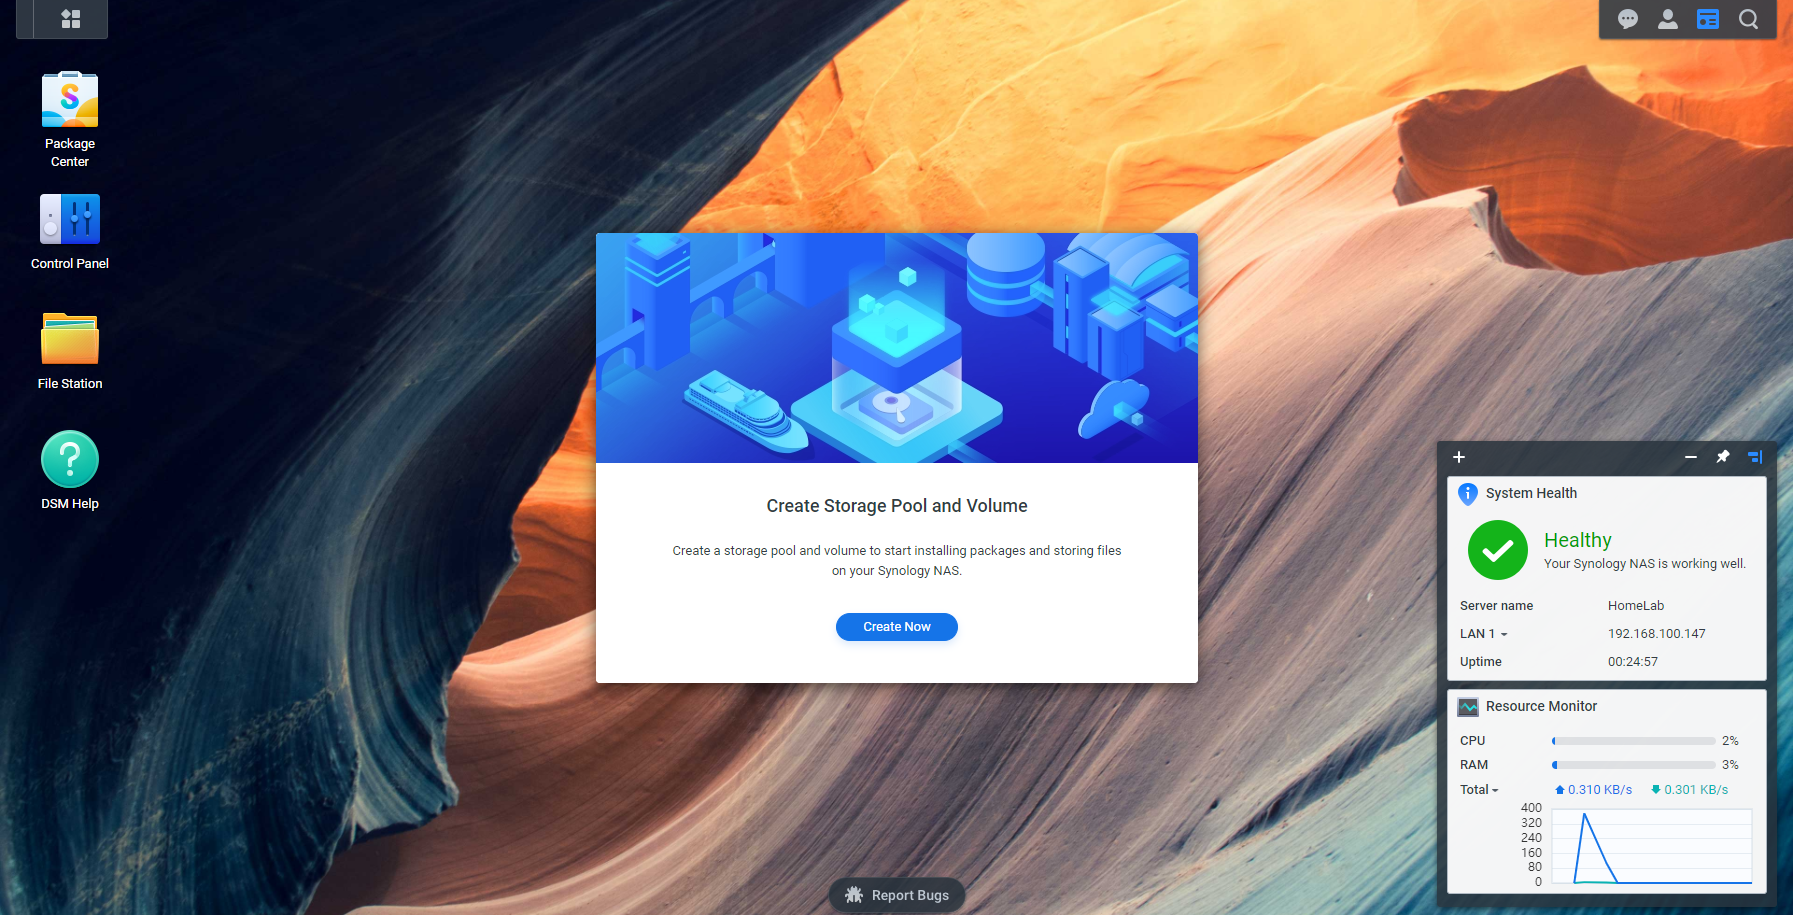
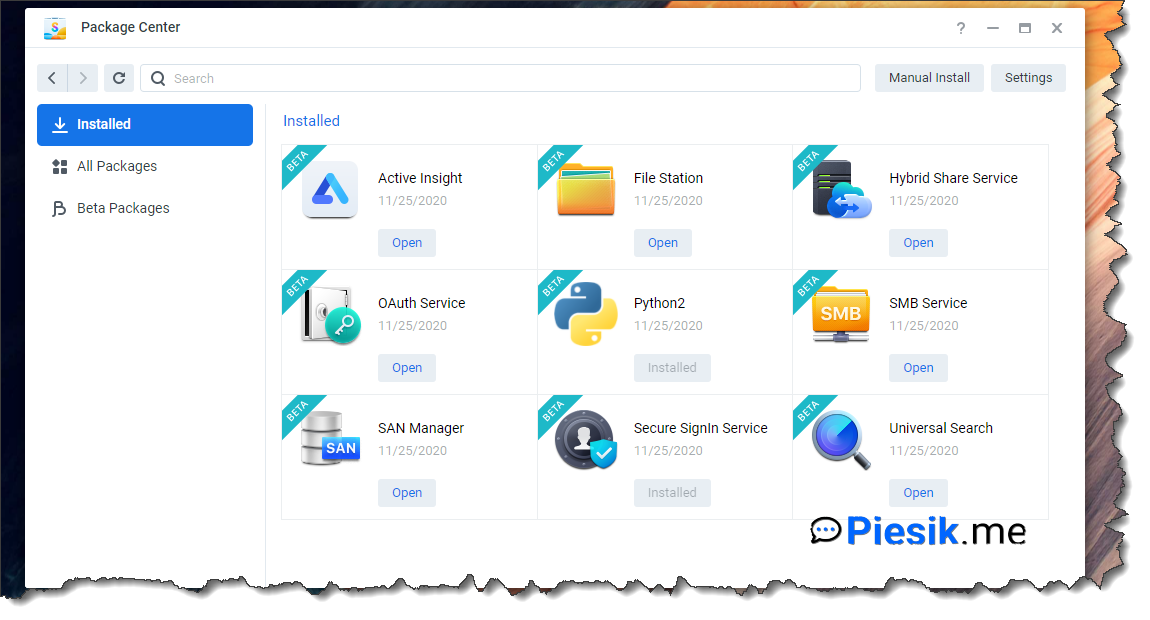
The last step for today is Package Center Package Center is a store for Synology devices, where you can install or buy addins to extend your NAS function. To update packages go to Package Center and click “Update”. In my case – there are no updates for any packages because it is a clean installation.
In the next posts, we will be installing multiple packages to extend the functionality of my device.
For today it is everything. In the next post, we will create some users, groups, shares, and install the first packages.
Thanks!
