
Built your own Azure Cloud Shell to have access to resources in emergencies!
Sometimes a better idea is to use CLI instead of the GUI. Of course, you can use that CLI on your device, but what if you don’t have access to your laptop and you have access only to the browser?
That means you can use Azure Cloud Shell. It’s a built-in feature to use PowerShell or Bash commands to use our Azure environment.
There is only one requirement that we must meet – provide the storage account where our shell will be stored.
So, let’s start with creating Storage Account, I selected Locally-redundant storage (LRS) with Cool access tier (data will be used occasionally) like on this screen:
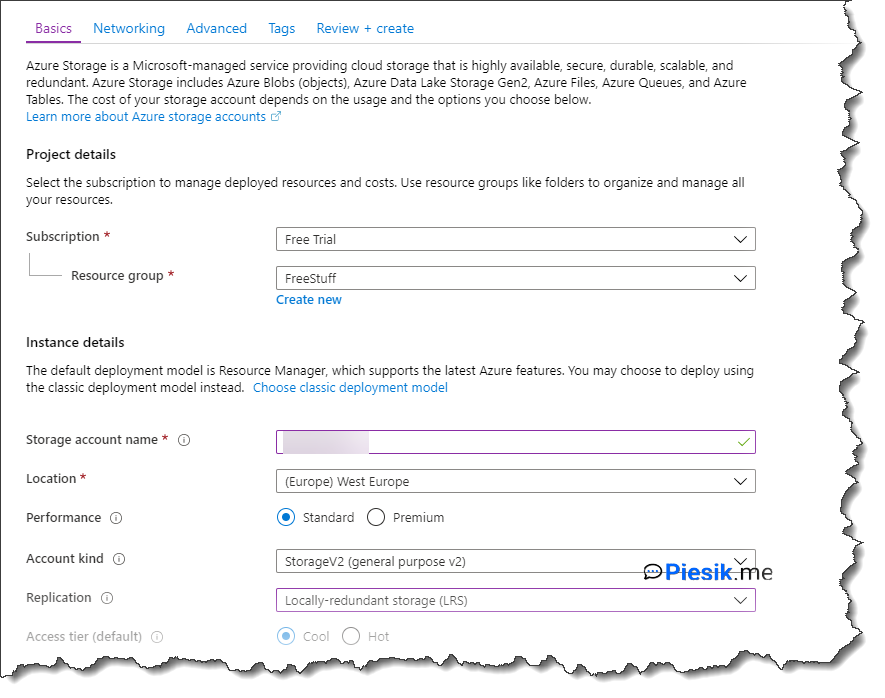
With access from all networks.
When the Storage Account is created, use the magic button on the top to start Cloud Shell:

And select a proper environment. In my case, I will use Powershell.
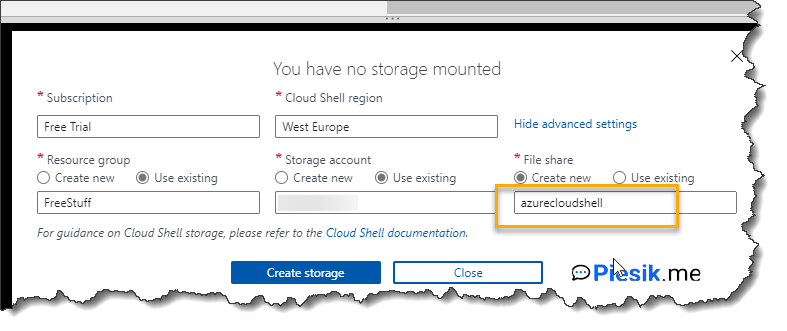
When you choose the proper environment you should Create new storage, but that is not necessary, because we want to use that storage account which we created earlier, so please click on *Show advanced settings** and select storage account and create a new file share with a proper name.
After a couple of seconds we will see the console:

For example, we will use the command:
install-module -name azTo install az module to manage our Azure environment. After that, we can use the command:
get-command *az* to display all commands which we can use to do necessary work.
Have fun!
